


Metal Splashbacks
Practical and stylish, a metal splashback can be used in various applications around the home. Stainless steel, aluminium and copper splashbacks all provide a striking contrast to your storage units and offers a unique finish that’s sure to make a statement.
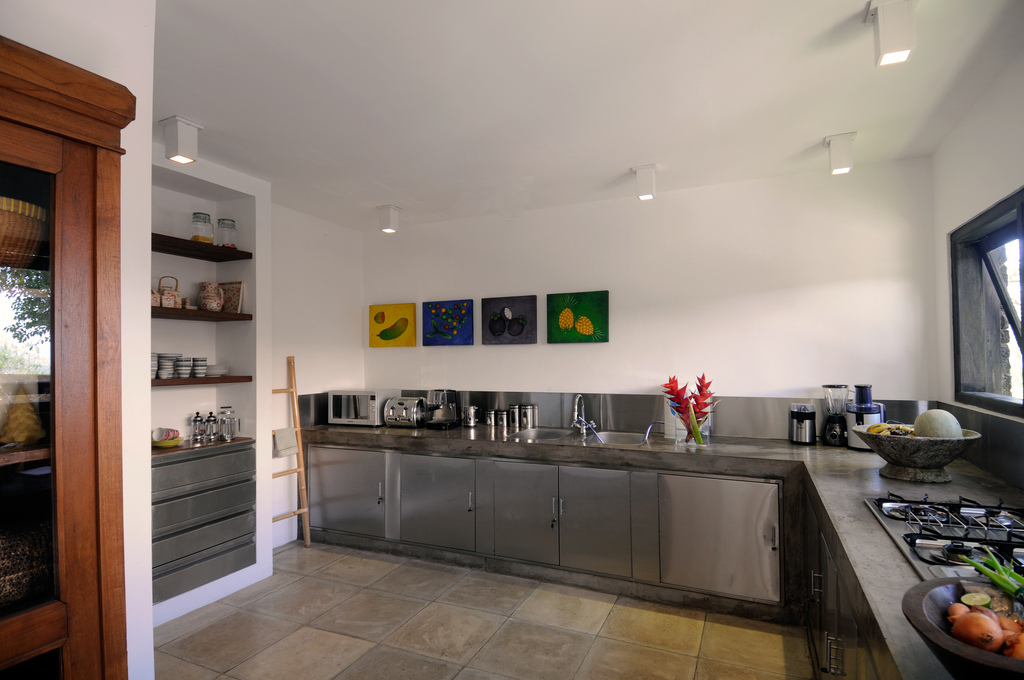
Metal splashbacks are a great addition to your home, as they’re easy to maintain and keep clean, don’t deteriorate with age and add a stylish and unique focal point to your home. As metal reflects light well, it will open up your kitchen or bathroom space, as well as looking chic and contemporary. Best of all, metal is incredibly hard wearing and durable, so it can stand up to knocks from pots and pans without damaging.
Where to Put a Metal Splashback
While splashbacks are typically thought of as being an addition to kitchen décor, this isn’t the only place you can use them. Splashbacks can be used as a protective barrier between your walls and cooking spills, as well as around worktops and kitchen counters to keep the kitchen easy to clean and hygienic. They can also be used in the bathroom to stop water splashes around the sink and shower, as well as making a wonderful design feature for your home.
Materials for a Splashback
Splashbacks are available in a variety of materials – copper provides an alternative look to the more commonplace, yet sleek, steel splashback. It’s worth noting that while a stainless steel splashback is useful for your hob as they are heat resistant to a point, they will get very warm to the touch as the metal will conduct heat.
How to Fit a Metal Splashback
Before beginning the installation process, it’s a good idea to check the area you’re fitting the splashback against is free from dust and dirt. The surface needs to be as clean and smooth as possible to ensure an even and accurate fit. Next, apply three strips of thick, double-coated polyethylene foam tape to the back of the splashback – one on each side, and one down the centre.
In between the strips of tape, apply a generous amount of translucent neutral cure silicone. Remove the tape liner and press the splashback firmly into place on the wall, making sure it’s straight and in the correct position. If there’s any adhesive spilling out of the sides, clean it with a damp cloth then leave to set for at least 24 hours before gently peeling away the protective film on the surface of the splashback.